So I've got to be honest here... I am by no means an expert at cooking chickpeas/garbanzo beans. There are tons of awesome blogs out there with perfect pictures and tons of details. If you want to want to know the science, look at gorgeous pictures of a bean, or read a comparison of different cooking methods, then go to Google and find just that. No hard feelings; no bitterness. This blog is simply my awful pictures and my preferred method of cooking garbanzos. (I know my enthusiasm for my own blog just compels you to read on!)
Before having IC, I never would have thought about or taken the time to cook chickpeas. The only way I consumed chickpeas was in store-bought hummus. IC put a stop to the store bought hummus (yay, citric acid!), and I started to experiment with making my own. My first batch of hummus used canned chickpeas. They work just fine, but trust me, they are nothing compared to fresh cooked. So, one day when I had some time, I tried cooking dried garbanzos. I will never go back.
I want to share this method of cooking chickpeas/garbanzos, because I use them in tons of my recipes. They are the backbone of amazing hummus; they are delicious to snack on, and they are an awesome way to add protein to a salad. All that being said, enjoy my photos, glance through the directions, and finally, give it a try. Honestly, I think its
really difficult to mess up a batch of these babies.
Ingredients:
Chickpeas/Garbanzo Beans (for the record, they are the same thing)
Water
Method:
Rinse chickpeas in cold water. Place all chickpeas in a container or large bowl, with plenty of water covering. You want the bowl/container to be large, and there to be about 3 inches of water above the beans. Cover and stick in the fridge overnight to soak.
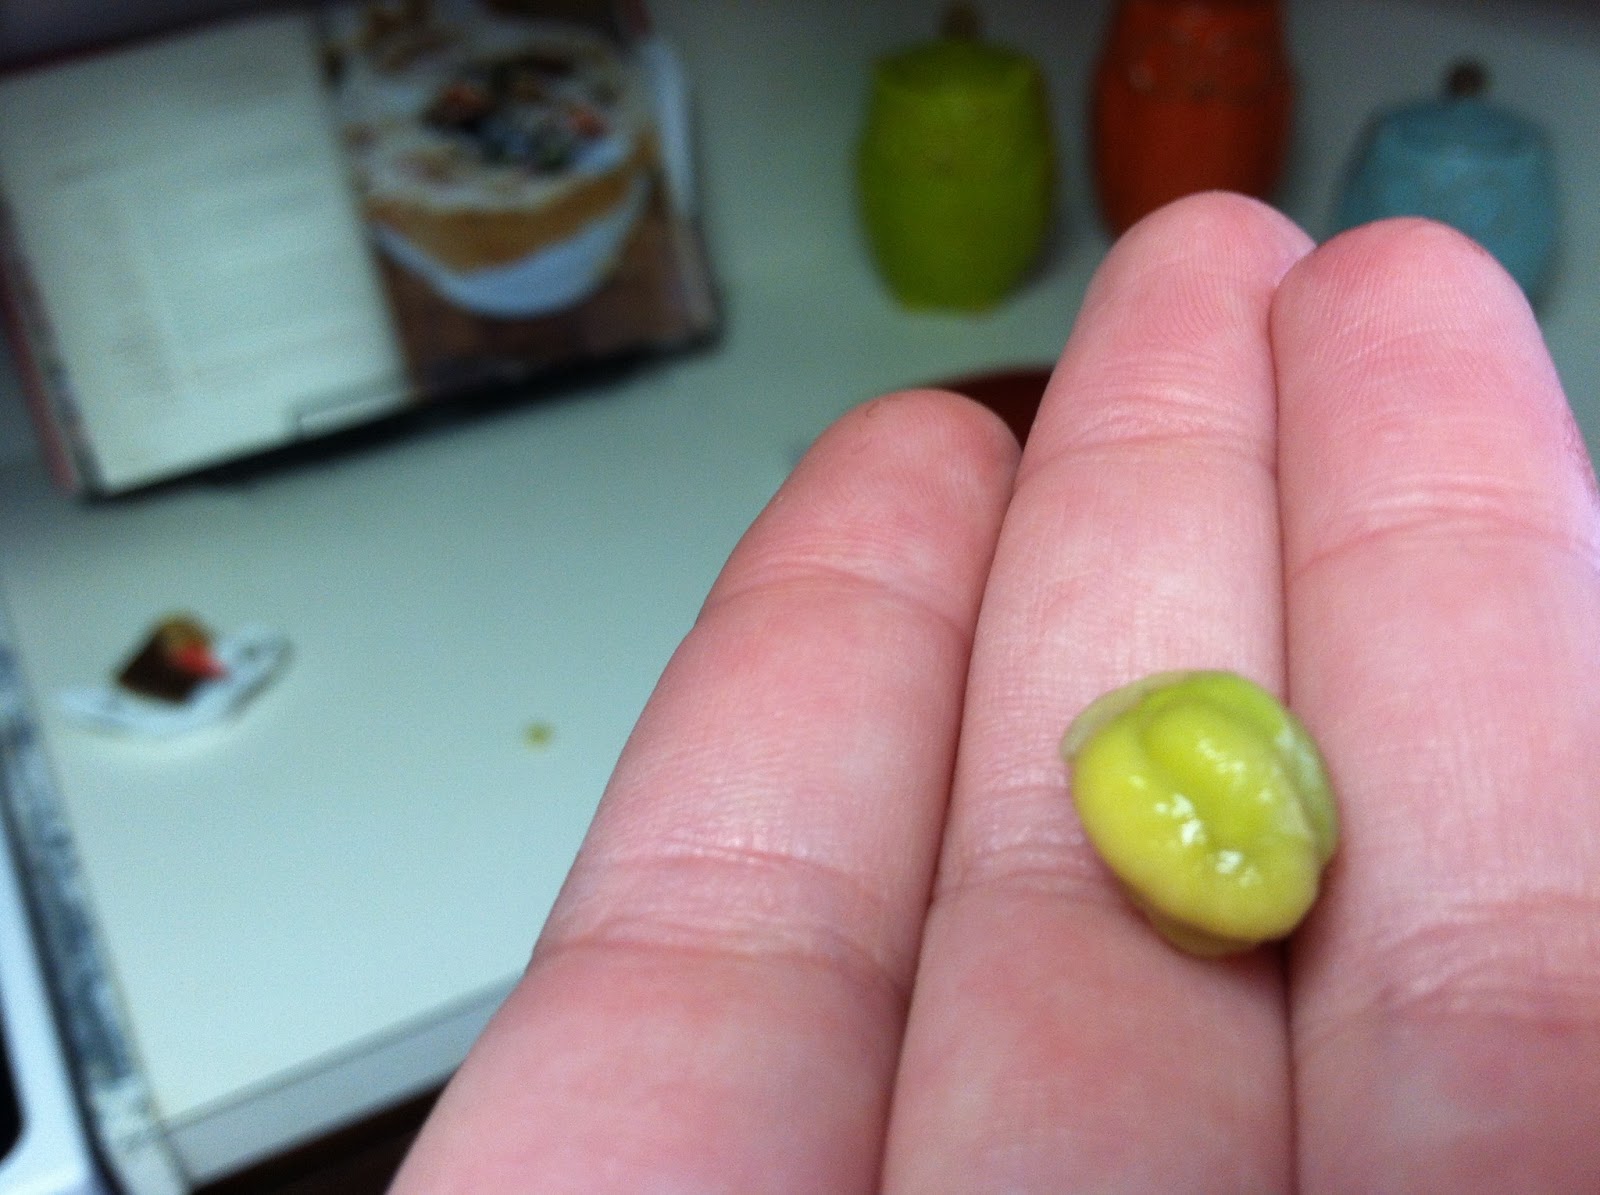
Take beans out of the fridge and dump into a strainer. Once all of the excess water is drained, place beans in a large pot taking time to check that there are no green/discolored beans. Cover the chickpeas with at least 3 inches of water and bring to a boil over medium heat. As the beans heat up, you will likely hear popping coming from the beans- this is okay, don't freak. Bring the water to a boil. At this point, there will likely be lots of foam in the pot- scoop this out with a large spoon. Reduce the heat to medium-low. You want there to be a bit of a simmer, but not boiling.
Cook the beans for an additional 2-3 hours. Taste test after 2 hours to see how they taste. Are they too crunchy for your liking? Let them cook a little longer. If a good amount of the water evaporates during cooking, then add more water- just make sure it is hot! (Experts probably recommend against this, but I've done it more than once, and the beans still wind up delicious.) Once the beans are cooked to your liking, remove from heat, drain and enjoy! I've found that the chickpeas will keep in the refrigerator for 2+ weeks without a problem.
Notes:
I often cook a ton of chickpeas at once- I just never seem to be home long enough to remember to soak them all night and then have time the next day to cook them. So, when I do remember to make time to cook these, I cook a ton just to make my life easy. I then freeze 3 cup batches in freezer baggies. Each batch allows me to make hummus and have some leftover to throw on salads and pop in my mouth as a quick snack!